

Testing Pretreatment on Different Shirts
Paul Boody
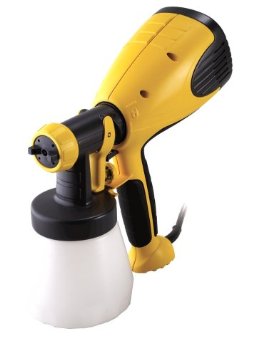
Whether manually using a Wagner sprayer or an automatic pretreatment machine like the Peal PTM, the crucial step is experimenting with various pretreatments and shirt types. This experimentation guarantees finding the optimal amount of pretreatment for achieving flawless results.
Testing Process:
- Shirt Division: Use heat-resistant tape to divide the shirt into three sections.
-
Pretreatment Application: Apply pretreatment to each section in varying amounts.
- For manual spraying: Experiment with quick, moderate, and prolonged sprays, or opt for a soak in the last section.
- For automatic pretreaters: Adjust density or settings from low to high.
- Curing: Print the same design or test lines in all three sections and cure them.
- Evaluation: Wash the shirt twice to assess the effectiveness of different pretreatment amounts. This step is crucial, especially for new poly blends or poly sweatshirts where the immediate print can be deceptive.
Considerations:
- If using a Wagner sprayer, explore the Lock and Go Pretreatment Canister for Wagner Sprayer attachment to control droplet size and avoid over-pretreatment.
- Regularly perform these tests, especially when trying new pretreatments or accommodating customer requests for untested shirts.


When it comes to pretreating shirts, the goal is consistent full coverage in a designated area. One effective method is creating a template from a cardboard sheet with a 16x20 open cutout to control overspray.
Maintaining the right distance and angle while moving from left to right and up and down is essential. The key factors include controlling the spray from the nozzle and adjusting the distance and angle based on the shirt's surface.
Related Products


$99.99

$2.96


