Moving your Richoh Printer Short or Long Distances
Paul Boody
In the case you may need to move your printer, whether it be changing shop locations or simply finding a better suited spot in your current building, this blog post will go over the steps required to move your printer short or long distances.
Moving the Printer - Within the Building
To move the printer a very short distance, with the printer remaining at a horizontal position, follow the below steps.
- Switch off the printer main power switch on the rear of the printer.
- Drain the waste ink tank.
- Clean and drain the Left Drip Pan.
- Remove both the power cord and the USB cable.
- The ink cartridges should remain in place. Removing them may cause the ink to dry out in the ink delivery system.
- Install the Carriage and Table Retainers that were included with the printer. Use thumb screws to tighten the table retainers.
- Move the printer carefully. Keep the printer horizontal. Only move the printer on its side if it is entering a doorway.
- When you reach the new destination, make certain the printer is placed on a stable, sturdy and level table.
- Make sure the printer is level.
- Make sure that the new environment meets to the printer's requirements.
Moving the Printer - Short Distance
A short distance involves moving the printer by a vehicle, the travel time should not take more than an hour or two.
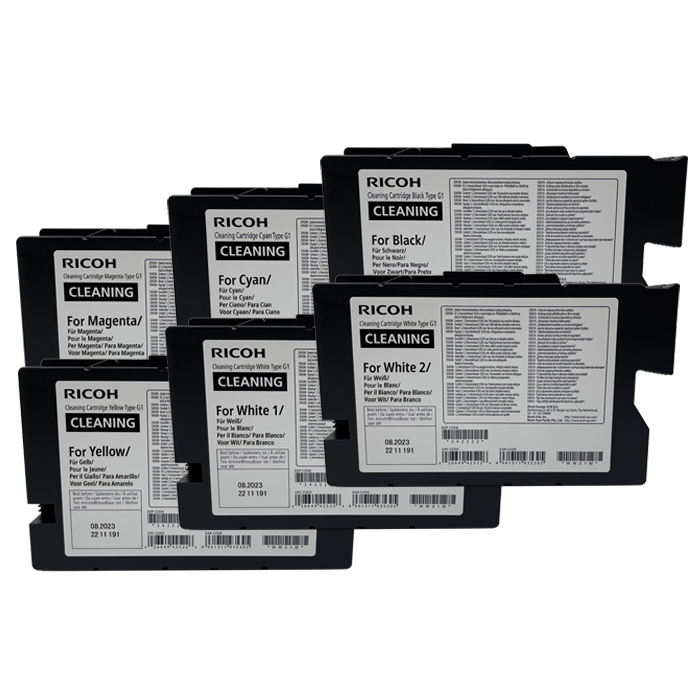
If traveling through a high temperature or low humidity area, or if there is a large altitude change, replace all the ink cartridges with cleaning solution.
- Drain the waste ink tank.
- Keep the cartridges in place, do not leave without ink or cleaning cartridges in the printer.
- At the new location, replace the ink if needed.
- Perform a nozzle check.
- Clean the print head as needed to restore good ink flow.
Moving the Printer - Long Distance
Please contact your technical support office to walk you through this process.
- Replace all ink cartridges with cleaning solution to fill the lines.
- Drain the waste ink tank.
- Power down your printer.
- Remove all of the cleaning solution cartridges.
- Restrain the print table and carriage with the retainers on print table and print carriage.
- Remove both the power cord and USB cable.
- Package the printer in the original shipping boxes before shipping.
- Keep the printer level while handling and transporting.
- If you are shipping the printer through a common carrier, the printer box must be placed and secured on a pallet.