
Epson F2000/2100 Print Head Removal and Install
customer1 comment
To remove the print head on your Epson F2000 and F2100,
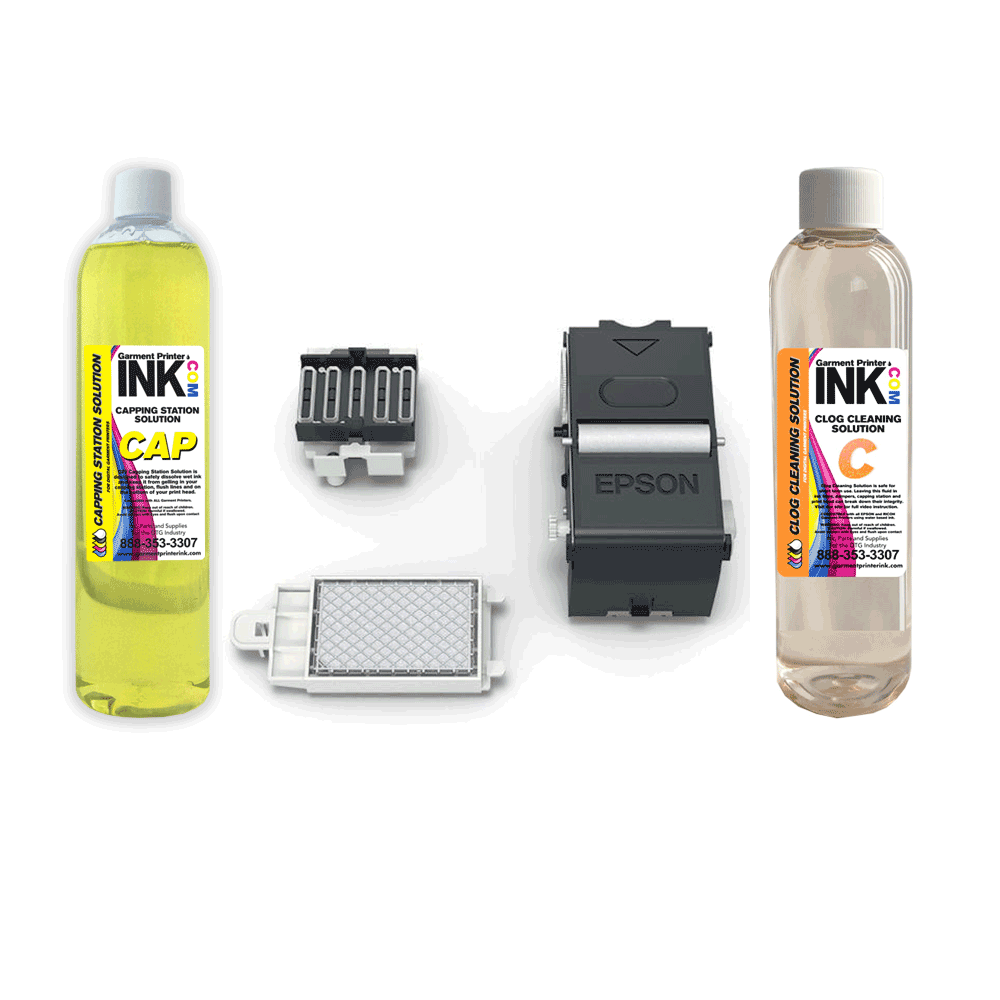
Remove the damper unit (4 screws on either side)
Remove the black clip on the right
Pull damper unit out and disconnect the ribbons
Now you will see the head which is held by 3 screws
One is obvious and the other 2 are on the left and right of the small ribbons.
That's it....you can now pull the print-head out.
You will first need it to take the pressure off the lines. If you remove the ink lines without using the software make sure you have some sponges/cloth available to lay below the print head. The ink will start running out of the lines once you remove 2 or 3 screws but the ink will run onto the sponges/cloth you laid down and not the printer itself. Doing it without the software wastes less time and ink.
Here is a video (not in English) on removing the Epson F2000 print head
Here is a video on Installing the Print Head in the Epson F2000/F2100
It seems as though you can get print heads here for around $1999
For more information check out the Epson F2000 Service Manual
Recent Articles


Comments (1)
If I am just replacing the dampers, not the print head, will the ink lines still start leaking as I’m taking off the damper unit? Or do they only leak as the print head screws are loosened?
Also, you talked about software to take away the pressure. What software is this? How do you use it? Where do you get it?
Thanks for any help you can give!