

Learn How To Use Your iColor 250 Label Contour Cut Printer
Osman Bayrak
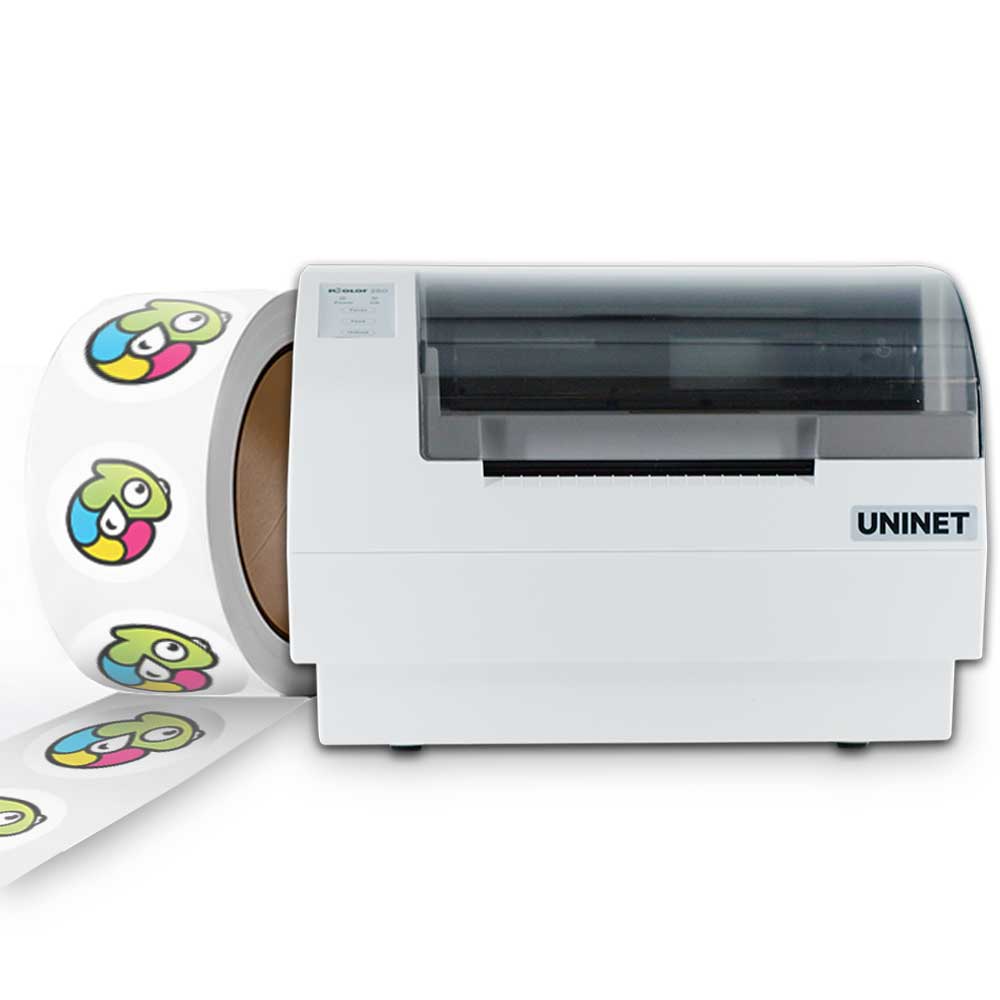
The iColor 250 label contour cutter from Uninet is a powerful tool for creating custom labels and decals. With its advanced cutting technology and easy-to-use software, it's the perfect choice for businesses and individuals looking to produce high-quality labels quickly and efficiently.
In this blog post, we'll walk you through the steps for using the iColor 250 label contour cutter, so you can get started creating your own custom labels and decals right away.
Step 1: Install the software
The first thing you'll need to do is install the iColor 250 software on your computer. This software is what allows you to design and cut your labels using the iColor 250. You can download the software from the Uninet website. Once the download is complete, simply run the installer and follow the on-screen instructions to complete the installation.
Step 2: Design your label
Once the software is installed, you can start designing your label. The iColor 250 software comes with a variety of templates and design elements that you can use to create your label, or you can start from scratch and create a completely custom design.To begin designing your label, simply launch the iColor 250 software and select "New Project" from the main menu. Then, use the software's design tools to create your label. You can add text, shapes, images, and more to your label, and adjust the color, size, and position of each element as needed.
Step 3: Cut your label
Once you have designed your label, it's time to cut it using the iColor 250. To do this, you'll need to load the iColor 250 with a roll of label stock. Consult the manual for instructions on how to do this, as it may vary depending on the specific model of the iColor 250 you are using.Once the label stock is loaded, simply select the "Cut" option in the iColor 250 software and follow the on-screen instructions to start the cutting process. The iColor 250 will use its advanced cutting technology to precisely cut out your label according to the design you created in the software.
Step 4: Finish and apply your label
Once the cutting process is complete, you'll need to remove your label from the label stock and finish it. This may involve trimming off any excess material or applying a laminate layer to protect the label. Consult the manual for specific instructions on how to finish your label.Once your label is finished, you can apply it to any surface using the adhesive backing. Simply peel off the backing paper and press the label firmly onto the surface you want to apply it to.
That's it! By following these steps, you can use the iColor 250 label contour cutter from Uninet to create high-quality custom labels and decals quickly and easily.
Related Products


Subscribe to Media Posts
Recent Articles
There are no additional posts