
Melco G2 Sleeve Table
customer
Tools needed for installation:
- 2.5mm Metric Hex Driver
- 3mm Metric Hex Driver
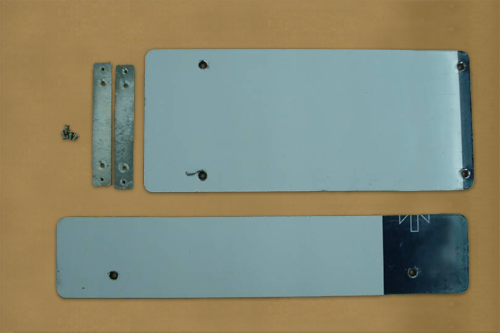
Needed Parts:
- Sleeve Table
- Adapter Plate
- Two (2) Short Table Interface Brackets
- Four (4) M4 Countersunk Hex Screws
Installation Instructions
- Remove the Standard Frame Table from the machine.

- Loosen and remove the hardware – 4 screws – at each corner of the table using the 3mm Metric Hex Driver.
- Remove the Standard Frame Table and store it in a secure location.
- Remove the front Long Table Interface Bracket using the 2.5mm Metric Hex Driver.

Leave the Rear Table Interface Bracket in place as is.

- Mount the two (2) Short Table Interface Brackets in the locations shown below using M4 Countersunk Hex Screws.

- Align the Sleeve Table and the Adapter Plate as shown in the picture below and secure them to the Table Support using six (6) M4 Countersunk Hex Screws.


