Melco G2 Maintenance Schedule
customer
Once properly set up, the MelcoJet G2 can be left in an "idle" state for 7-10 days. Idle meaning, the printer is loaded with inks but has been properly powered down using the "end of day maintenance" described below. The optimum situation for any owner/operator is to print with your MelcoJet G2 daily, however, if you are not going to print every day, you can follow the maintenance instructions below to ensure that your printer does not become damaged as a result of sitting idle for too long.
The risk associated to your printer sitting idle is that the inks used in printing are designed to dry out over time. These drying times are effected by the type of ink, the amount of air that the ink is exposed to, temperature and how sedentary the inks are (how much they are moved or agitated). Drying times for ink exposed to air are extremely short (minutes) and so, the maintenance procedures below are intended to help you protect the ink delivery system of your printer from drying out.
Each day that you print you will need to perform a "pre-printing" procedure and at the end of each day you will need to perform an "end of day maintenance". If you are not going to print daily please pay careful attention to the below instructions on how to "recover" from any span of time that your printer is idle for less than 7-10 days. If you are going to exceed 10 days, you will need to perform the necessary storage steps below to protect your investment and produce the best possible quality prints.
Daily Pre Printing Procedure
-
Shake all Ink Cartridges 30-60 seconds, then replace.
-
Turn the printer on.
-
Clear the NON GENUINE message and allow the machine to finish initializing. The display will read READY when complete.
-
Press the flashing green button to finalize initialization.
-
Command the printer to perform a Normal Cleaning Cycle by pressing and holding the Menu button for 3 - 4 seconds. This will take about 5 minutes to complete and the printer display will read READY when the cleaning cycle is finished.
-
Perform a Nozzle Check until you get results indicating that ink flow is optimum to produce quality prints.
Daily Shutdown - End of Day Printer Maintenance

Tools and Supplies:
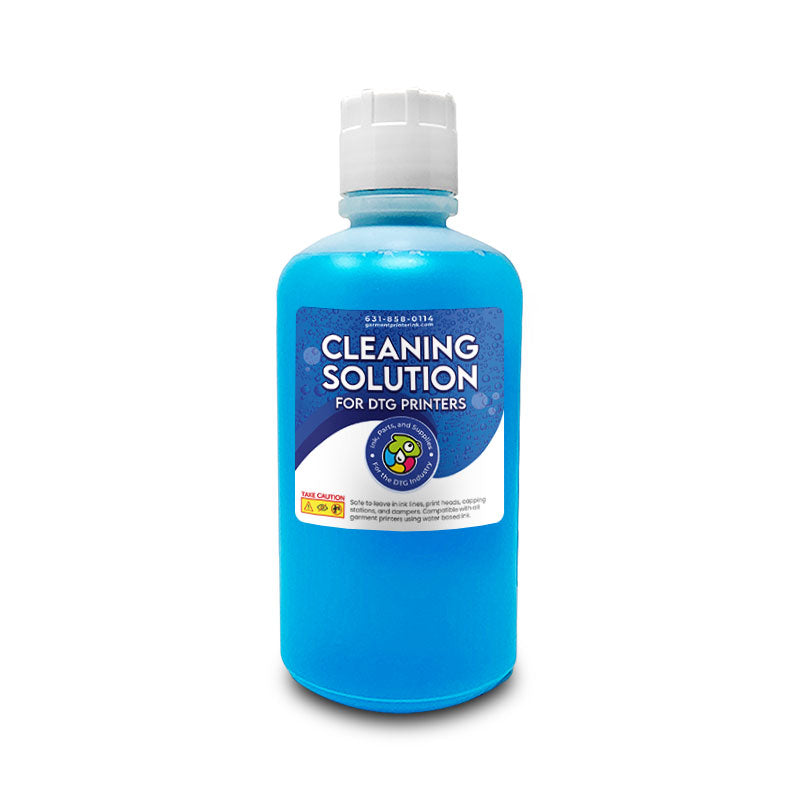
- Cleaning Solution
- Syringe
- Cleaning Solution Applicator
Optional Tools:
- Tweezers
Procedure
-
Release and move the printhead so there is access to the Capping Station, Wiper and Flushing Box.
-
Clean the Capping Station and Capping Station Seal.
-
Clean the Wiper using cleaning solution and a cleaning applicator.
-
Clean the Flushing Box using the syringe and cleaning solution.
-
Fill the Capping Station with cleaning solution.
-
Return the printhead to its parked position
-
Command a Normal Cleaning cycle from the control panel by pressing and holding the Menu button for 3 - 4 seconds. This will take about 5 minutes to complete and the printer display will read READY when the cleaning cycle is finished.
-
Release and move the printhead allowing access to the Capping Station and once again fill the Capping Station with cleaning solution and return the Print Head Carriage to the parked position.
-
Raise the Ink Delivery System Levers to the "unlocked" position.

2 Days Idle - Startup Process
-
Shake all Ink Cartridges 30-60 seconds.
-
Turn the printer on and allow it to start to initialize.
-
Clear the NON GENUINE message and allow the machine to finish initializing. The display will read READY when complete.
-
Command the printer to perform a Normal Cleaning cycle by pressing and holding the Menu button for 3 - 4 seconds. This will take about 5 minutes to complete and the printer display will read READY when the cleaning cycle is finished.
-
On test fabric print a 8.5" x 11" solid white square or a large all white print design to encourage adequate white ink output.
-
Perform a Nozzle Check until ink flow is optimum for quality prints
3 - 4 Days Idle - Startup Process
-
Shake the white Ink Cartridges
-
Turn on the printer and allow it to start to initialize.
-
Clear the NON GENUINE message and allow the machine to finish initializing. The display will read READY when complete.
-
Command the printer to perform a Power Cleaning cycle.
-
Perform a Nozzle Check until ink flow is optimum for quality prints
More than 5 Days Idle - STORAGE PROCEDURE
If the printer will be idle for more than 5 days the storage maintenance steps must be completed to ensure that the ink delivery system in the printer does not dry out damaging components.
Purging the Ink Deliver System and charging with cleaning solution
- Power down the Printer
- Raise the blue Ink Delivery System levers
- Remove all of the ink cartridges from the ink bays
- Install the cleaning solution cartridges
- Release the Printhead Carriage
- Remove the (3) Print Head Carriage Cover mounting screws
- Remove the Print Head Carriage Cover to access the ink line fittings.
- Before disconnecting the ink lines, the blue ink delivery system levers will need to be moved into the up position. This closes the lines in the system and prevents any fluid from flowing back into the cartridges when the line is removed from the damper.
- Disconnect the ink line from the damper connection by unthreading the white compression nut from the damper fitting. The white compression nut may need to be moved down the line to allow access for the syringe. The black o-ring can stay.
- Attach the syringe to the ink line and pull on the plunger a very tiny amount. The goal is to create the slightest amount of suction which will cause the ink/fluid will flow forward through the system when the blue ink levers are moved to the lower position.
- Move the blue ink system levels to the down position. This will open the lines in the system and allow ink/fluid to flow through the system and into the syringe.
- Draw the ink/fluid into the line. Be careful not to apply too much force or try to pull too much ink all at once. Keep the pressure even and steady until you see the line fill with ink.
- Before removing the syringe, raise the blue ink system levers to close the lines in the system again. This will prevent any fluid from flowing back into the cartridges when the syringe is removed from the line.
- If multiple pulls on the syringe are necessary, you will need to repeat steps 8 through 14. Remember that whenever the end of the ink line is exposed, the ink system levers need to be in the up position to prevent ink/fluid from flowing back into the cartridges or forward into the printer.
- Reconnect the ink line to the damper fitting by attaching the white compression nut to the fitting and securely tightening to be sure no air will be allowed into the Ink Delivery System.
- Repeat the process of removing the ink for all remaining ink lines.
- Replace the Print Head Carriage Cover with the same (3) cover mounting screws
- Return the Print Head Carriage to the parked position.
- Power up the Printer and allow the initialization process to begin
- Clear the NON GENUINE message and allow initialization to complete.
- Press the flashing green button to finalize initialization. (only required on some older models of G2)
- When the printer display reads READY perform (2) Power Cleaning cycles to purge any remaining ink from the Ink Delivery System including the Damper and the Print Head.
- Release the Printhead Carriage
- Clean the Capping Station, Wiper, Flushing Box and fill the Capping Station with cleaning solution.
- Return the Print Head Carriage to the parked position.
- Close the printer lid.
- Raise the blue ink levers.
- Empty the Waste Ink Tank.
- Power the printer off.
General
All external surfaces of the printer should be cleaned if they become dirty or become contaminated with ink. The external surfaces can be cleaned with ink cleaning solution or mild cleaners and a soft cloth.
-
Never use industrial strength cleaners on the machine covers or the printer.
-
Never use alcohol or paint thinner to clean the printer. These chemicals can damage the components as well as the printer case.
-
Do not let water get on the printer mechanism or electronic components.
-
Do not use a hard or an abrasive brush to clean the printer.
-
Do not spray the inside of the printer with lubricants as oils can damage the printer components.


