
Monthly Maintenance on your Melco G3 Garment Printer
customer
This maintenance should be performed once per week, ideally at the end of the work week or whenever the printer will be left for few days. This maintenance would follow the daily maintenance.
- Power down and unplug the printer

- Pour a bit of cleaning solution into a small container. This will be used with a swab to clean the wiper and capping station. This will prevent the contamination of the larger container of cleaning fluid.
- Open the printer cover and prepare to slide the print head to the left. You will release the print head in the following steps.
- Release the print head in the following steps:
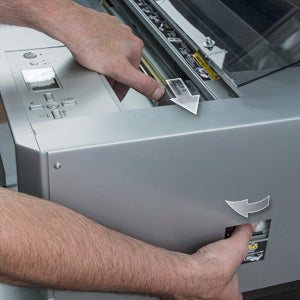
Locate the maintenance cover window on the right side of the printer. Slide it to the left and open.
Press the gear slightly in and rotate counter-clockwise. As you rotate the gear, apply slight pressure to the print head with the intent of sliding it to the left. Continue to rotate the gear until the print head is freed and slide it to the left.
Move the print head by had to the far left side of the printer. This will allow you free access to the carriage area.
- Clean the linear encoder strip.
The linear encoder strip is a thin film that contains the encoding information for the print head. This information indicates where the print head is when moving horizontally. This strip may get a bit dirty from dust or an excess of ink during printing.
Clean the strip using a soft lint-free cloth and a solution of 50% isopropyl alcohol and 50% distilled water. Fold the cloth and gently pinch the strip between the plies of the cloth. Slide back and forth to remove any dirt or ink. Repeat the cleaning until no dirt or ink comes off onto the cloth.
Slide the print head toward the center of the machine and clean the strip on the left side of the machine
- Carefully clean around the print head. The surface around the print head will collect dried ink and must be cleaned for proper operation.
- To clean the print head, start with it near the middle of the machine.
- Slide the table to the back of the machine to allow for easier access.
- Using a cleaning applicator dipped in cleaning solution from step 2 above, clean around the nozzle plate. Be very careful to clean only the area around the nozzle plate. The shiny area that looks like a mirror should not be touched or scratched.

Clean only the area highlighted with green in the image. The area with the red "X" is the nozzle plate and must be avoided. The ramp to the right side of the nozzle plate should also be cleaned.
- Clean the carriage rail
- Locate the carriage rail. It is the metal rail running horizontally through the printer. It is the rail that the print head rides along.

- Clean the rail using a soft lint-free cloth and a solution of 50% isopropyl alcohol and 50% distilled water. You will need to slide the print head out of the way to clean the entire rail.

- Locate the carriage rail. It is the metal rail running horizontally through the printer. It is the rail that the print head rides along.
- Once finished with cleaning, manually slide the print head to the right and into the parked position.
- Rotate the gear clockwise until the print head can no longer be moved. The will ensure that the print head is in the locked position and is resting in the cleaning solution.
- Close the printer cover and slide the maintenance cover closed.

Related Products

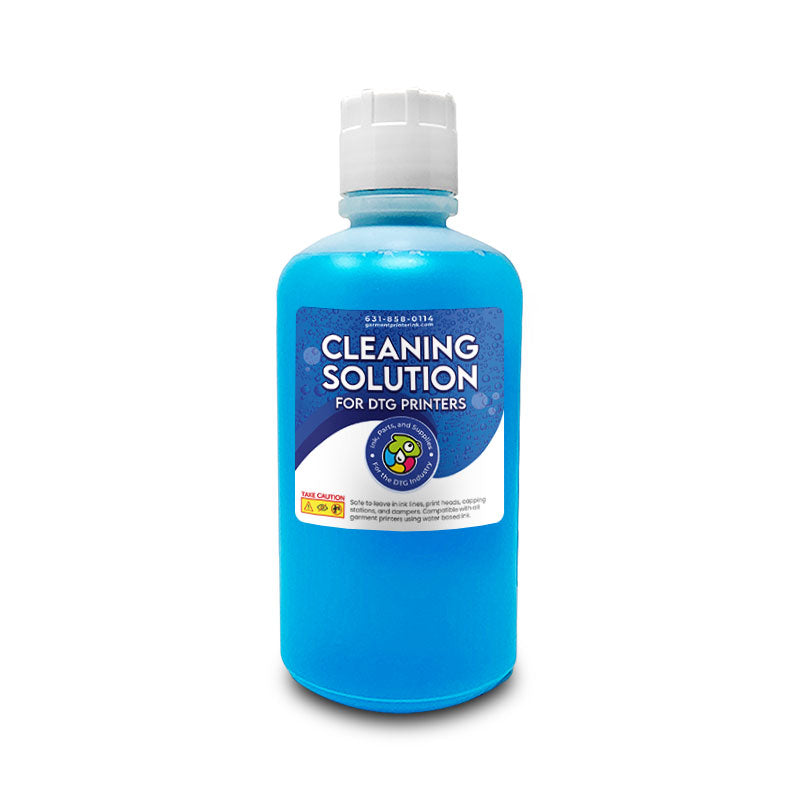

$21.99


